
How to Clean and Maintain Your Propane Camping Grill
Keeping your propane camping grill clean and well-maintained ensures safe operation and extends its lifespan. Regular maintenance not only enhances performance but also prevents potential hazards.
Essential Tools for Cleaning
Before diving into the cleaning process, gather the following tools:
- Soft-bristle brush or nylon grill brush
- Warm, soapy water
- Sponge or cloth
- Bucket
- Paper towels or microfiber cloths
- Toothpicks or small wire for burner holes
- Shop vacuum (optional)

Table of Contents
Step-by-Step Cleaning Guide
1. Safety First
Ensure the grill is completely cool. Disconnect the propane tank and any gas lines. Inspect hoses and connections for wear or leaks. A simple soapy water solution can help detect leaks—bubbles indicate a leak that needs addressing.
2. Disassemble Removable Parts
Remove grates, heat shields, and the drip tray. Soak them in warm, soapy water for 15–30 minutes to loosen grease and debris
3. Clean the Interior
While parts are soaking, use a soft-bristle brush or shop vacuum to remove loose debris from the grill’s interior. Wipe down surfaces with a sponge dipped in soapy water, then rinse and dry thoroughly.
4. Scrub Grates and Components
After soaking, scrub the grates, heat shields, and drip tray with a brush to remove residual grease. Rinse with clean water and dry completely to prevent rust.
5. Inspect and Clean Burners
Check burners for clogs or corrosion. Use a toothpick or small wire to clear any blocked holes. Ensure burners are dry before reassembling.
6. Reassemble the Grill
Once all components are clean and dry, reassemble the grill. Reconnect the propane tank, ensuring all connections are secure.
Maintenance Tips
- Regular Cleaning: Clean the grill after every use to prevent buildup.
- Deep Cleaning: Perform a thorough cleaning every 10 uses or at the start and end of the grilling season.
- Cover the Grill: Use a grill cover to protect against the elements when not in use.
- Store Properly: Store the grill in a dry place to prevent rust and corrosion.
Additional Tips
- Avoid Harsh Chemicals: Use mild dish soap and avoid abrasive cleaners that can damage surfaces.
- Check Ignition System: Ensure the igniter is functioning correctly; replace batteries if necessary.
- Monitor Propane Levels: Regularly check propane levels to avoid running out during cooking.
Cleaning After Every Use Saves Time Later
I used to think I could skip cleaning until the end of the weekend—but that only made things worse. Now I give my camping grill a quick clean after each use, and it takes less than 5 minutes. I wipe down the grates with a damp paper towel while they’re still warm (not hot), and food doesn’t get a chance to stick hard.
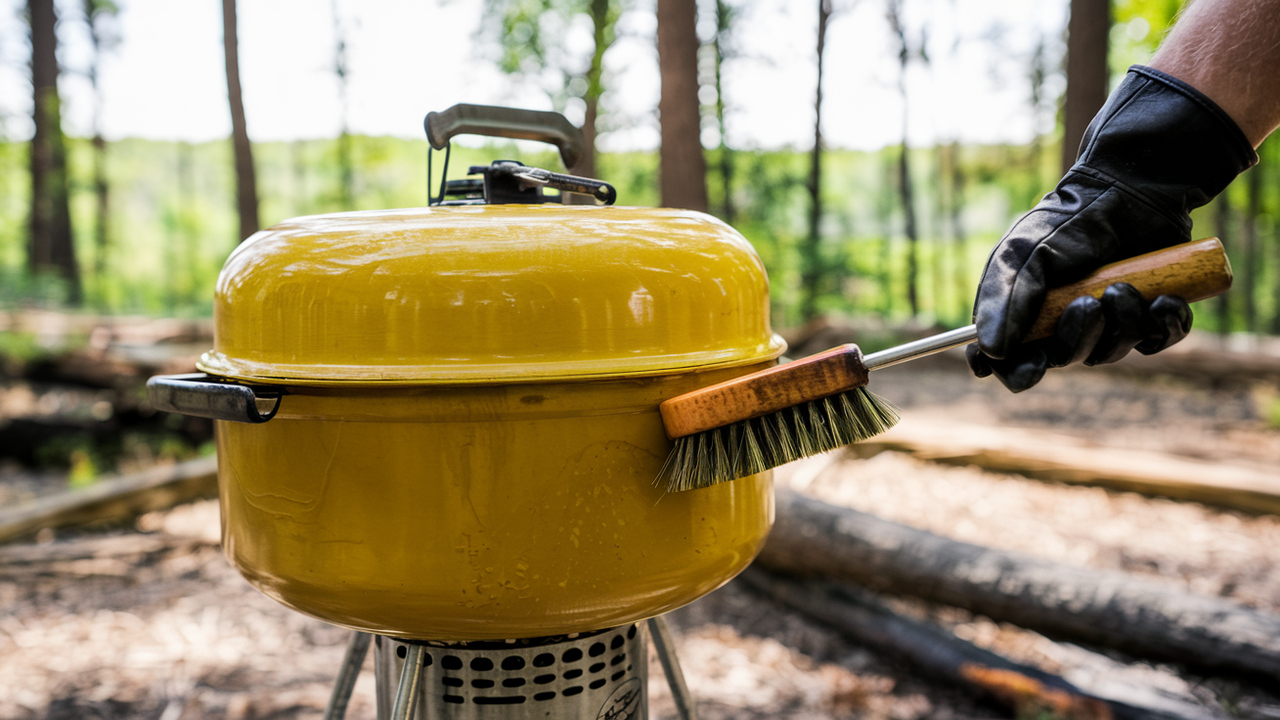
A Nylon Brush Works Better Than Steel
When I first started, I used a metal brush and ended up scratching the surface of my grates. Over time, I switched to a nylon bristle brush, and it’s been gentler and just as effective—especially for porcelain-coated grates that you want to protect.
Cleaning the Drip Tray Prevents Fires
The drip tray often gets ignored, but I’ve learned that letting grease accumulate can actually be a fire hazard. I make sure to empty and wipe down the tray every day when I’m camping. It also keeps the inside of the grill from smelling like burned grease.
Use Vinegar and Baking Soda for Deep Cleaning
When things get really greasy, I skip harsh chemicals and go with something I trust: a vinegar and baking soda paste. It cuts through tough grime without damaging the finish. Just spread it on, let it sit, scrub, and rinse.
Don’t Forget to Check the Regulator
One time my grill wasn’t heating properly, and it turned out to be a clogged regulator valve. Now I make it part of my routine to inspect the regulator every couple of weeks, especially if I’ve been using the grill a lot in dusty or wet conditions.
Keep a Small Cleaning Kit in Your Gear Bag
Instead of trying to remember everything last minute, I keep a ziplock cleaning kit with a grill brush, sponge, dish soap, gloves, and a couple of microfiber cloths. That way, whether I’m camping, tailgating, or just at the park, I’m always ready to clean on the spot.
Scrub the Heat Shields, Too
A lot of people skip this part, but the heat shields (or flame tamers) catch a lot of drips. If you let grease sit there, it starts to smell and can affect flavor. I clean them with a sponge and warm soapy water every couple of uses.
Use a Grill Mat to Reduce Mess
I’ve started using grill mats or liners under the cooking grates, especially for greasy foods like bacon or marinated chicken. It cuts down the mess drastically and helps me avoid deep-cleaning the bottom of the firebox as often.
Avoid Soaking the Ignition Button
One thing I learned the hard way: don’t soak the area around the ignition system. Excess water can ruin the spark module or cause corrosion. Instead, I gently wipe around the button and keep water away from the wires.
Replace Old Parts Before They Fail
Every 6 months or so, I do a check on my grates, burners, and igniter. If I see rust, corrosion, or wear, I replace them before they break. Amazon usually has replacement kits for popular grills, and it’s way cheaper than buying a new one.
Seasonal Storage Matters
At the end of camping season, I do a deep clean, detach the propane tank, and store my grill in a dry shed with a cover. Even though it’s built for the outdoors, a little extra care during off-season storage helps extend its life.
A Clean Grill Makes Food Taste Better
Lastly, the most important reason I clean my grill? The food tastes better. When the grates are clean and the burners are clear, everything cooks evenly. No weird burnt residue, no flare-ups—just clean, flavorful meals that everyone enjoys.